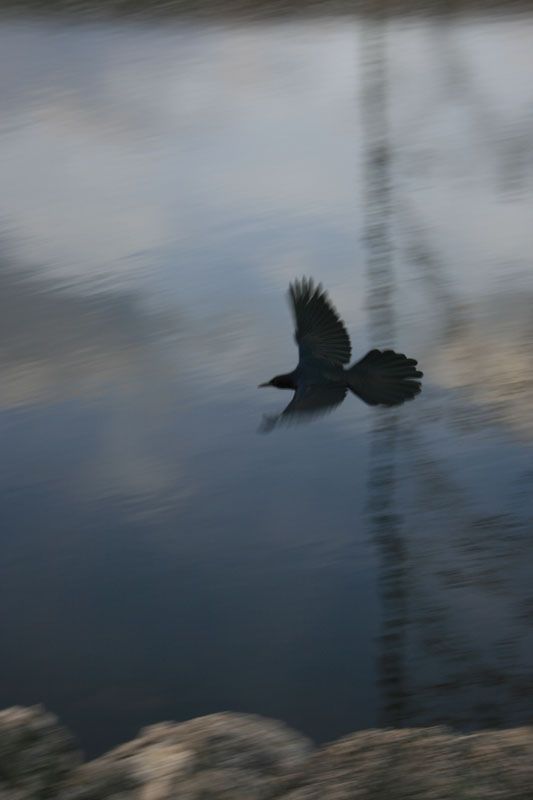
Been playing a lot with art of late. I tried out 3 image-transfer techniques. I did some more therapy coupons, and I added to the crane invasion yet again.
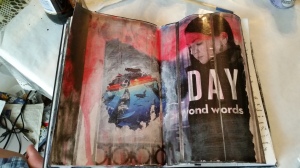 First up, the image transfers. I used generic materials that I had at home already, no need to buy their products or anything… I tried the packing tape technique first (she’s quite a bit more anal than I was… I like the imperfections, bubbles, and wrinkles). 1. Put overlapping pieces of packing tape directly on the image/words you want to transfer. 2. Soak in/with water untill the paper is saturated. 3. Rub off the paper fiber, this may take a bit of working at it to get it all off, but it can be done. the image will remain on the tape, and in theory, the tape will remain sticky (mine did not so I “glued” it down using acrylic gel medium. you could also probably use modge podge or any more flexible glue that dries clear). 4. Apply the tape with the image to your desired background. Keep in mind the image will be somewhat translucent, so you will be able to see the background underneath it.
I wanted to do more with the piece, so I sanded the tape slightly to give it “tooth” for anything I may choose to put over it (there were some words I wanted to cover up). I then gesso’d the spot I wanted to cover. I thought this was a good opportunity to test out the gesso image transfer method. I made sure to apply enough gesso so that it would stay wet as I applied the image (face into the gesso) I wanted transferred. I smoothed it out and applied pressure to make sure all of the image stuck to the gesso. I waited until the gesso was (almost) completely dry (should have been more patient, but… well, I wanted to keep working), then saturated the paper. Once the paper was sufficiently soaked, I rubbed off the pulp. The image transferred really well, and just as vivid as the original photo because the gesso gives an opaque white bg. Had I been patient and waited for the gesso to try completely before removing the paper pulp, I should not have the “holes” in my image where I wiped away the gesso base as well as the paper pulp. oops! That’s ok though, because it goes with the feel of the rest of the piece.
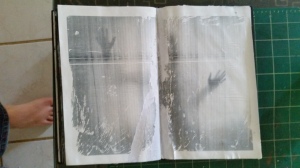 I really liked the results of the gesso image transfer, so I decided to do a layered version. I needed a clear medium for transfer so that the bottom later could be seen. I think I had heard mention fo using gel medium to do transfers. I have a bunch of the stuff, so I decided to try that. I made sure to gesso the journal pages with at least 2 layers before applying the thicker coat of gesso for the transfer. Had I been more careful here (more layers, letting it dry completely), I would not have ended up with large chunks of the image missing. Anyway, I applied the background image (picture I found on the web) with the gesso transfer technique, and managed to rip my pages as I rubbed off damp gesso with the paper pulp (lack of patience on my part).
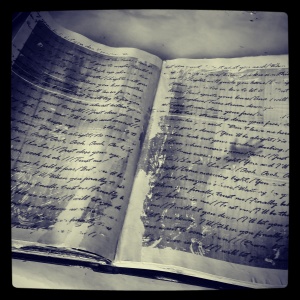 I covered over that with two layers of gloss gel medium (needed to make sure I covered the exposed paper and make it all more water-resistant again). I then did the same technique as the gesso transfer, only using the gel to grab the ink off the image… For this layer, I wanted some writing. I copy-pasted lyrics to some songs I like into a word document, formatted the way I wanted them to appear, then saved a screenshot of the text. I took it into a photo editing program (Sketchbook Pro), and flipped the image so the text printed out backwards (it will end up the mirror image of it once transferred onto the gel or gesso). I smoothed the image onto the thicker wet gel medium layer and set aside to dry. I was determined to do it without ripping the base layer or more of my page this time. Once it was completely dry, I soaked and peeled the paper. I purposefully left some imperfections in the transfer (bubbles, brush marks in the gel, uneven gel layer) all to give a more worn/grunged-up look to it.
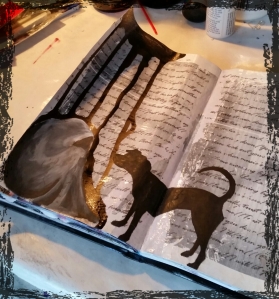 I finished it off with some painting… De would note here that the blanketed girl showed up again. She’s in a lot of places… The dog is also a recurring character (both from a shadow-puppetry piece I never really finished) and is based on the puppy (his silhouette makes for easy-to-interpret art). I decided to keep this piece monochromatic. I don’t think it would have had the same feel with color… Anyway, I figured this worked for the 2014 100-Theme Challenge #14 – Heaviness.
I liked the way it all worked, and much prefer the gesso or gel methods to the tape method, though the tape gives a cool transparent look to the image…
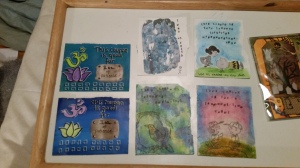
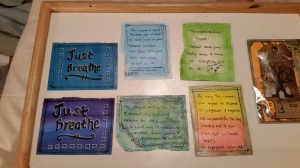 I was having so much fun with the image transfers, I decided to try it on some of the coupons. I think they turned out better (practice makes perfect when you are trying to get just the right imperfect look to the piece). I also had tried my hand at stamp carving (I had supplies on hand from L, who was big into the letterboxing thing a few years ago. They would carve their own stamps). I used the new peanuts stamp on a few of the coupons. I also just painted a few of them. Over-all, I had a lot fo fun trying out new things for the past week! (remind me to extol the virtues of gelatos some day… for right now, I’m too tired to explain them. Faber-Castell makes them, you can look up more info if you are too curious to wait – which honestly, may be a better choice as I fear I may forget to come back to them)
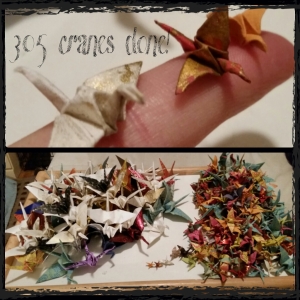 Finally, some updated pics on the crane invasion. There are now 315 (I can’t add this late and shorted myself by 10 when I made up the pic)

